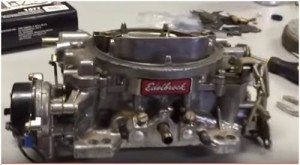
Carburetors are complex and many will not tackle rebuilding them. There are some simple rules you can follow when rebuilding a carburetor to ensure you get it done correctly.

First, always take a picture of all sides of the carburetor before taking it apart.
Including but not limited to the bottom and the top. During the rebuilding process, place all the items you remove in a row up or down or sideways.
Depending on the area you are working, you can even stack some parts. As long as you can remember the order, any of these steps will work. Some smaller parts, like screws and clips, should be placed in a tray or on a magnet to ensure they do not get lost.
The tray or magnets can also be placed in the row along with other parts. So when you are finished, you can work your way backward

Several small trays or small magnets can be used so that it is easier to remember which screws or air jets etc., came from where and when.
Not only will you need to purchase your carburetor kit, but you should also pick up a can of carburetor cleaner.
You should have on hand a small air compressor as well to help blow off any build-up in or around the carburetor.
When applying air to the carburetor, make sure your hand is over any opposite side of the port you are applying air in.
If you have left a spring, or any other part in the carburetor, applying air will shoot it across the room. Making it difficult to find and replace.

Make sure your working area is clean of any other parts from other jobs, and keep a couple of cleaning towels around.
Placing a towel on the surface before you start can help from any small parts from slipping or sliding off the surface and ending up on your floor.
If your carburetor is dirty before you start, take a min a spray some carburetor cleaner on the outside of it. This will help to keep your hands clean when handling the new parts from your kit.
Tips for Rebuilding a Edelbrock Carburetor
- Be sure to mark the choke before removing it.
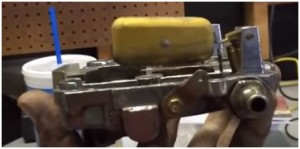
- If you are not sure where to adjust floats, always turn the carburetor upside down and adjust them level with the carburetor itself. This is common practice to insure the carburetor gets all the fuel it needs, and will not flood out.
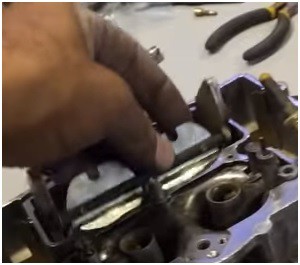
- The weights on the butterfly, always point to the back.
- The air adjustment screws on the front of the carburetor should be set at 1 ½ turns out. This means crank the screw all the way in first, then unscrew them 1 and a half turns out. Do not forget to place the spring on each of them before re-installing. This helps them from vibrating out.

I have included a video so that you can follow the step-by-step direction easily. Rubber gloves are a good idea to ensure no burning of the chemical that is in the carburetor cleaner.