Knowing what grit of sand paper and what to do with it is what makes a great paint job.
Most automobile painters will agree that sanding is one of the most time consuming parts of the entire paint job.
The more time you take in your sanding techniques, the better the end result of your paint job will be.
I’m sure you have heard the expression; it’s all in the prep work.
You can use sand paper from a DA ( sticky on one side) as a wet sand paper by sticking two of them together.
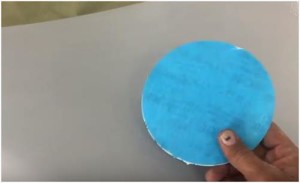
Some will tell you that this idea uses more sand paper. But actually it uses less. When you stick two of them together they become waterproof sand paper.
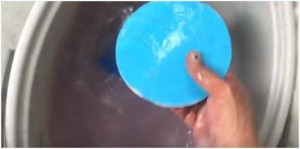
After you have used the sand paper several times, you can simply dip it into a bucket of water and rinse it, and it becomes practically new again.
Moving it in the water will let all the primer that you have scratched off drop into the bucket of water. By rinsing your sand paper you will save money and time.
Also, when using a bucket of water, you will have saved several gallons of water.
When sanding with 600 grit paper, do not push too hard; this will cause the paper to crinkle and absorb water. If you lightly scratch with the paper it will work more efficiently, and it will last ten times longer.
By using this method, you can reduce the wet sand paper from 10 pieces to just these two.
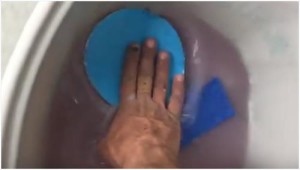
After you have sanded an area of one square foot (approximately), you will then wipe the area with a sponge.
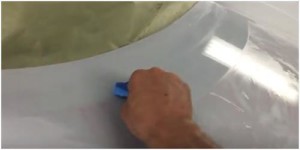
When wiping with a sponge, do not use a circular motion. Even wiping back and forth can leave particles behind.
Start at one location and wipe in a straight line. Do this until you have stopped at a gap or edge of the metal surface you are wiping.
At this point, rinse the sponge. While it is under the water move it back and forth so that any small and large particles remain in the water.
After removing the sponge from the water in the bucket, squeeze the sponge as hard as you can to get all the water you can out of it. This allows you to have less water on the area you are cleaning and allows the sponge to absorb a larger area of wiping before it needs rinsed again.
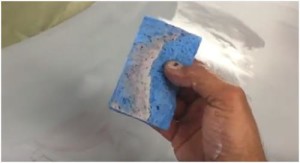
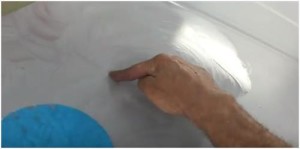
Looking at the area you have sanded, it is sometimes difficult to tell if you have hit it all. In this case wipe the area with your hand of fingers and if it is smooth you have sanded it. But if it feels like sandpaper then you have missed this area. This area will require sanding again.
Once you have sanded the entire vehicle the last step before painting would be to wipe it down with a tack cloth as seen here. Then you are ready to paint. I personally prefer the 3m tack cloth.
By wiping the vehicle down with this tack cloth it will remove any lint, grease, or foreign particles left behind. It is a very low-cost way to ensure a perfect paint job.
So, in short, after you have sprayed your primer and it has dried. You will need to wet sand the entire area and wipe the entire area with a sponge.
Allow that to dry, then wipe the area with a tack cloth. Now you are ready to paint your vehicle.
How long do you let the job dry between wet sanding and first coat of paint?
Thank you very much for this helpful video. Perfectly timely for me. Well illustrated and simple. Thank you for sharing your knowledge with us
Steve
Thank you so such very helpful, I wet sanded my cars hood and roof to what looks and feels like glass with 1000 grit sand paper. My question is my friend told me that the primer has to have texture for the base coat to stick to it. Is this true. I put in all most a hole day on just these to places.
You helped me more than you could ever know. I’m going to watch all of your video’s and pick up as many pointers as I can. Thanks for taking the time to do them.
I’m restoring an old golf cart and This was very helpful
. Thank you
Nice video on wet sanding primer before paint.What grit is best fir a mirrior smooth finsh,And then can I paint over it .without using a sealer. I am doing a fiberglass body.Also how many coat of primer should I use before I wet sand.Thanks Mike