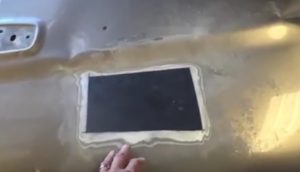
When a dent is so badly damaged it cannot be pulled out it must be cut out and removed. There are some cases where rust is also so bad that it cannot be repaired and it too needs cut out.
If you find yourself in need of a major repair on your vehicles body! Then here is a step-by-step procedure I personally use when making that repair.
First cut out the area that needs repaired throw away the bad metal, and get a new piece the same size.
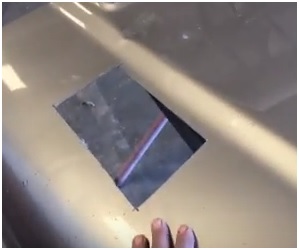
Use a piece of paper, or cardboard to trace the hole that you have cut. This will insure a tight fit of your new piece.
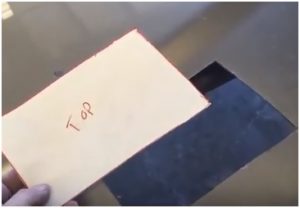
Be sure to label the top of the paper, so that you know what side goes where.
Even in a perfect cut you could have different lengths. The lettering of the word top as well will give you the direction from left to right.
Next sand the area of the metal on the new piece. This will save placing it into a vice to clean it later. In this illustration we are taking it from the same hood. This hood is for parts and pieces and since this is a tutorial, we will remove it from the left of the hood and place it in the right side.
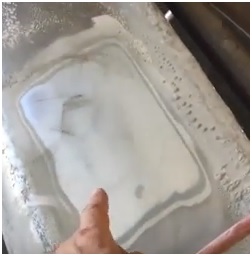
To sand this clear coat, paint, and primer all off at once. I used a 80 grit sand paper.
You will also need to sand around of the edge where the repair will be. Sand at least a half inch so that your welds will stick better.
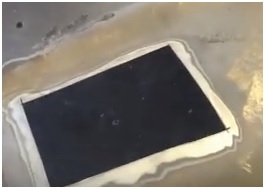
Now a little trick for you!
I have two blown speakers that I have pried the magnets out from. I have wrapped them in ¾ inch masking tape so they do not scratch any vehicle I am working on.
Place a magnet in the corners under or above the repair. In this case so that you can see better I have placed them under the repair area.
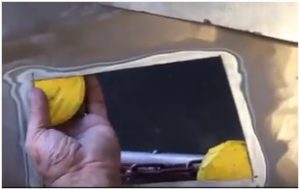
Now you can take your new piece and place it on top of the magnets. It will hold in place for you perfectly.
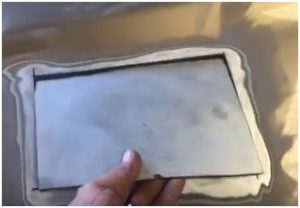
As you weld the area, spot weld one side then another, bouncing back and forth from top to bottom and side to side as much as possible.
You are not trying to run a bead. You are trying to tack a area without having the metal get to warm and warp in any way.
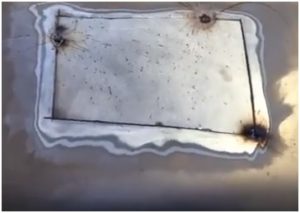
After you feel that you have enough tacks that the metal will not warp. Remove your magnets and weld the entire area.
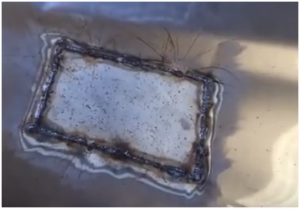
I know it looks ugly, but keep reading! Now with a grinder, grind the welds until they are flush with the metal.
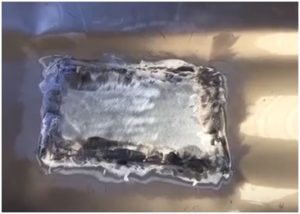
Now it is looking better. But we are not there yet. Lets mix some body filler.
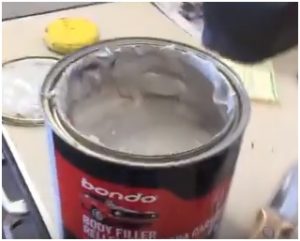
When mixing body filler the more hardener you use the shorter the drying time. So if you have not mixed it before. Mix small amounts at a time. It should have a pink color and be spreadable like a thick peanut butter.
Now spread the filler over the entire area.
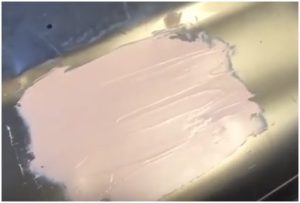
Drying time will be longer or shorter depending on how hot you mixed it.
By adding a lot of hardener this is called (mixing it hot) by adding little hardener this is called (mixing it cold). Mixing it cold takes a long time to dry, but you have more time to apply it and move it around.
Mixing a bit small around and trying it on a different surface (cardboard) will give you a better idea if you are uncertain.
Now that we have applied the Bondo and it has dried (15 min the way I mixed it hot) we can sand it. I will use a 80 grit paper again.
After I have sanded it and formed it to the curves of the metal. I will sand it again with 180 grit sand paper. Now we can spray a primer.
After the primer has dried, we can sand it again with 400 grit sand paper and you can use wet sand paper at this time if you like. Let this dry and one more step before you paint. Always use a tack cloth before you paint. I use 3m tack cloth which will pick up the smallest particles and hair from most any surface.
Now you are ready to paint your color.
What’s the best way to remove dried rubbing compound