A hot car in the summer is all but unbearable, especially in very hot climates.
Many things can go wrong with a car or truck A/C system, with the most common being that the unit has a low refrigerant charge.
Once all other possible problems are eliminated, recharging a system is an easy task that almost any home DIY mechanic can do.
Of course, if in doubt, take it to a professional.
Refrigerant recharging kits are readily available that anyone can buy to get their A/C back to blowing cold air.
What Refrigerant Does your Car or Truck Use?
There are two types of refrigerant that vehicles use R12 and R134a.
R12 is mainly used in older cars and trucks built before 1995.
R134a is used on vehicles built after 1995.
If your vehicle was built after 1995, it more than likely uses R134a as R12 was banned due to environmental concerns.
For those who have a vehicle built close to the 1995 date, a sticker should be located on the system somewhere that displays the refrigerant used, or alternatively, it can be looked up online.
How to Recharge a Car or Truck Air Conditioner
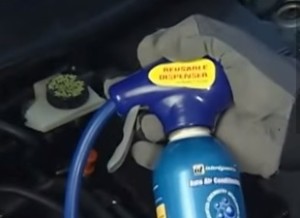
- A recharge kit is needed. In this example, we are using the Interdynamics Arctic Freeze Recharging Kit, but there are many R134a kit options.
- Be sure to wear gloves and eye protection in case of any accidents.
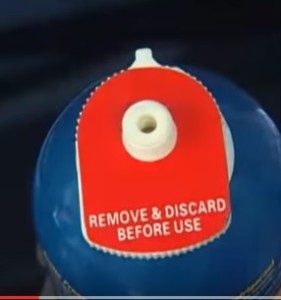
- A 14oz can of R-134a is in the kit, and the top plastic cap needs to be removed.
- The cap is screwed onto the bottle.
- A/C systems have two tubing lines for High Pressure and Low Pressure.
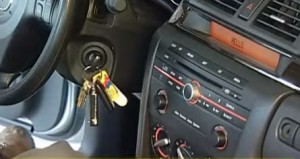
- Next, start the engine and turn the air conditioning to Max Cool with the fan set to the highest setting.
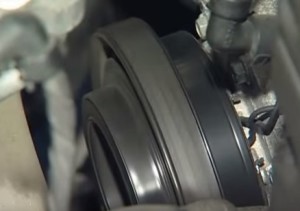
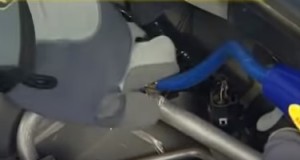
- Check and be sure the compressor is running as it needs to be running to get a charge into the system. You will know if it is running as it will be spinning.
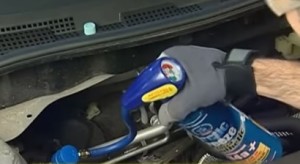
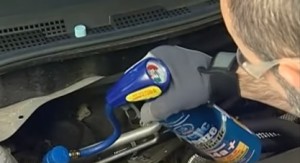
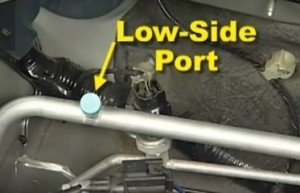
- Attach the hose from the bottle to the Low Side port.
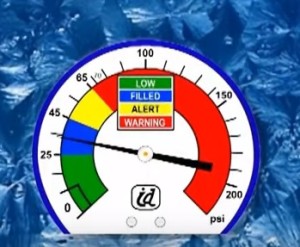
- The gauge will show what the charge state of the system is. Keep in mind overcharging a system can possibly damage components and the unit will not work properly.
- To add more refrigerant, squeeze the trigger on the can.
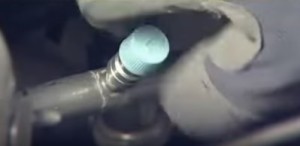
- Once the unit is charged, remove the hose and replace the cap. The unit should now be fully charged.
Locate the Low Side port on the A/C system.
The Low side port will always be on the larger diameter tubing.
When adding refrigerant into the system, do it slowly and check the gauge to get the right amount into the system.
The gauge will show Green for Low, Blue for Filled, Yellow for Alert, and Red for an Overcharge.
Summary
Charging a vehicle’s air conditioning system is an easy task that most any backyard mechanic can do.
When working on any car problem, be sure to wear the correct protective gear.
Before charging a unit, be sure of what the problem is. If it is only a slow leak, then a cheap DIY charge may be a good temporary solution.
Also, before charging, be sure the compressor is running, as that may point to another problem.
