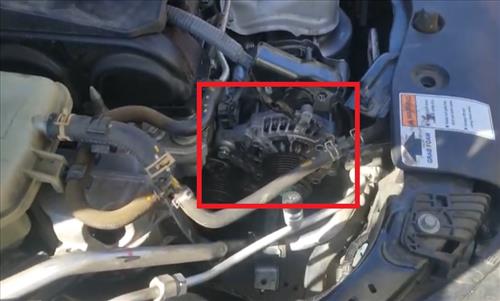
Replacing the alternator on a 2012-2018 Honda Civic falls in the DIY category and is done by many backyard mechanics.
Like many mechanical projects, it requires working in tight spaces.
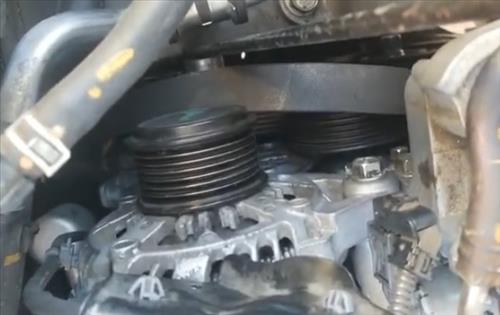
While working in tight spaces can be difficult, having the right tools and taking your time is key to getting the job done.
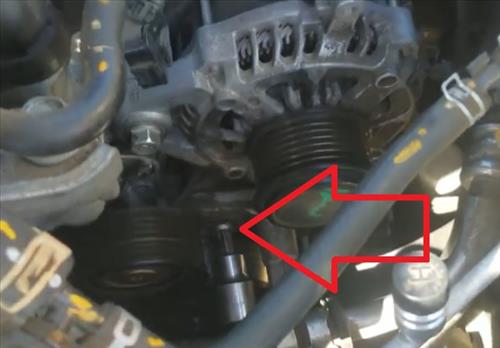
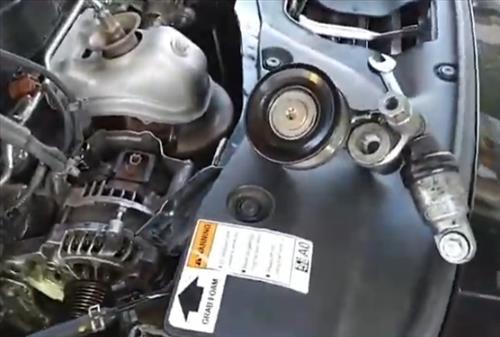
The belt tensioner will need to be removed to reach a bolt located on the bottom of the alternator.
Tools Needed To Replace a Honda Civic Alternator (2012-2018)
- 12mm Socket
- 14mm Socket
- 17mm Socket
- T-50 Torx Bit Socket
- New Alternator
Some tools will be needed, mainly 12mm, 14mm, and 17mm sockets or wenches.
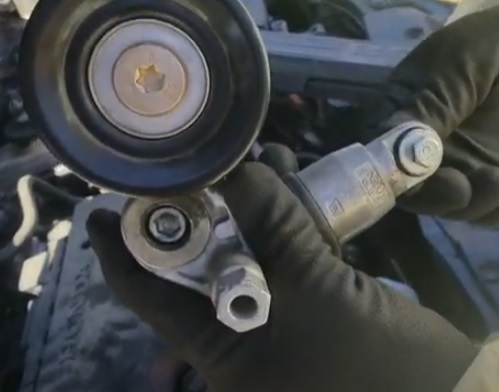
A T-50 Torx Bit socket will be needed to remove the top bolt on the tensioner.
A new alternator will also be needed, which can be bought at an auto-parts store or online on Amazon or eBay.
How To Replace a Honda Civic Alternator (2012-2018)
- Disconnect the positive battery terminal.
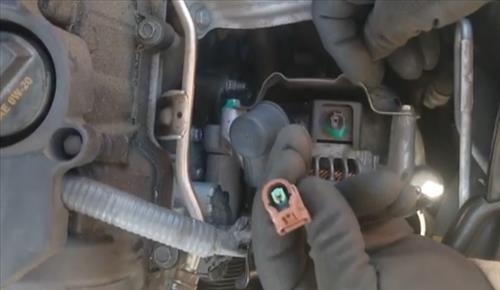
- Remove the electrical connections on the alternator.
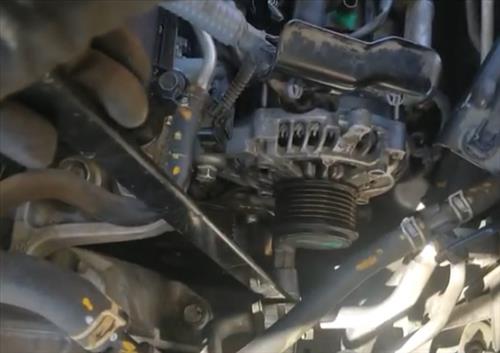
- Using a 17mm socket pull on the belt tensioner and remove the belt.
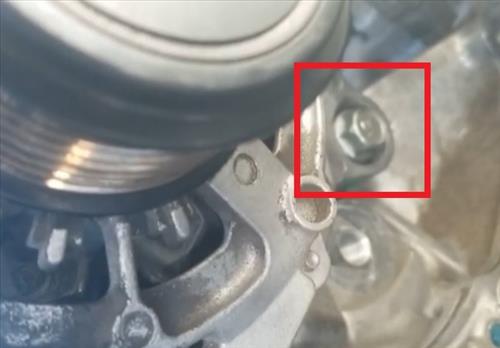
- Using a T-50 Torx Bit remove the first bolt on the belt tensioner.
- Using a 12mm socket remove the second bolt on the belt tensioner and remove it.
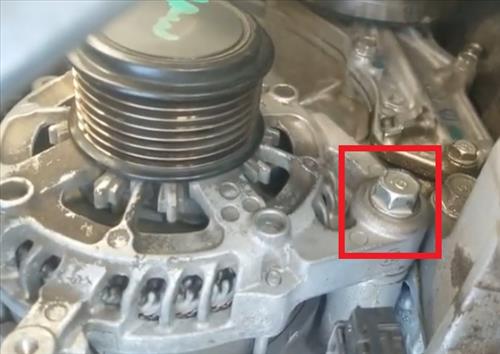
- Remove the bottom 14mm bolt holding the alternator.
- Remove the top 14mm bolt holding the alternator.
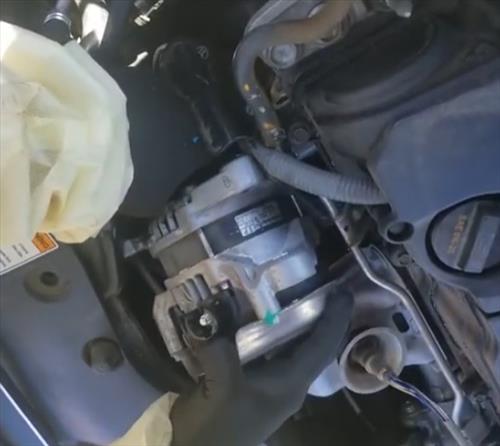
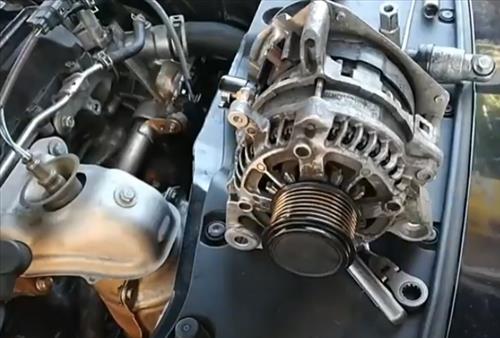
- The alternator can now be removed, which often requires a bit of prying and pulling.
- Once the old alternator is out, installing the new one is in the reverse order.
Summary
Removing an alternator on a 2012-2018 Honda Civic is a straightforward job.
The most difficult part is the tight space that has to be worked in.
The alternator is removed from the top of the engine, so no need to crawl around underneath.
The belt tensioner will need to be removed to unbolt the bottom bolt on the alternator.
To remove the tensioner, be sure to have a Torx T-50 bit socket ready.
Have you had to remove an alternator on a 2012-2018 Honda Civic? Let us know your thoughts below.
