A video is at the bottom of the post for a visual walk-through if needed.
Replacing the headlight bulb on a 2011-2013 Toyota Camry is an easy task that falls in the DIY category.
There are two bulbs located inside the headlight assembly called Low and High beam.
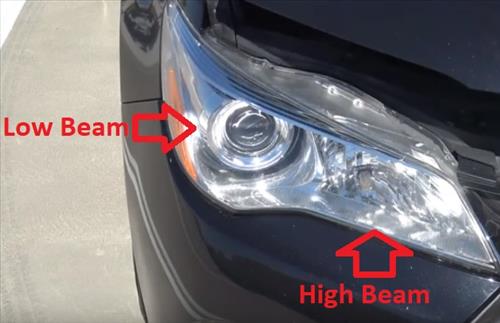
The Low beam bulb is on the outside while the High beam bulb is on the inside.
Both bulbs are located behind the headlight assembly and replaced the same way.
As always if in doubt take your vehicle to a professional.
Below are the steps with screenshots to replace them along with a video if needed for a visual walk through.
Tools and Parts Needed
- New Headlight Bulb
No tools are needed when replacing the headlight bulb.
Tools are only needed if there is corrosion on the vehicle.
*When buying any headlight bulb be sure it matches the make, year, and model of Toyota Camry.
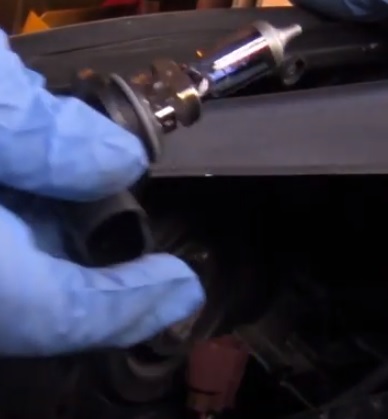
When replacing any headlight bulb be sure not to touch the bulb itself with your fingers, as oil from your hands can create a hot spot that shortens the life of the bulb.
How to Replace Headlight Bulb 2011-2013 Toyota Camry
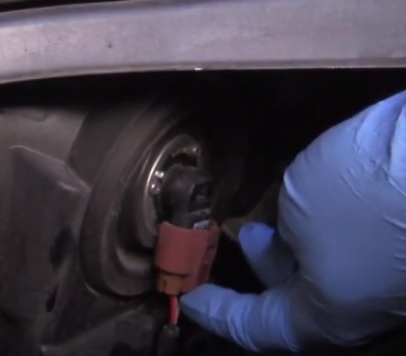
- Open the hood and locate the bulb behind the headlight assembly.
- Remove the electrical plug by pushing in the tab and pulling it out.
- Remove the bulb by turning it counter-clockwise.
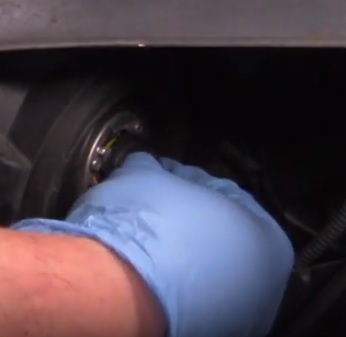
- Insert the new bulb and turn it clockwise to lock it into place.
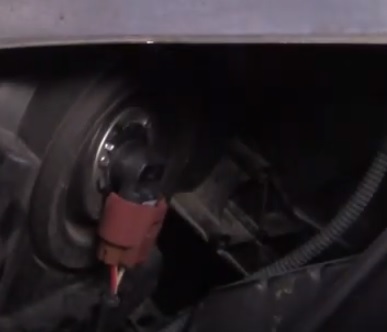
- Reattach the electrical plug.
- Test the light which should now work.
Summary
It is not difficult to replace the headlight bulb on a Toyota Camry but call a knowledgeable friend or professional if in doubt.
Climates age cars differently which can affect bolts being rusted or other possible problems.
A vehicle that was in an accident may also have some type of unforeseen problem.
Remember not to touch the bulb itself with your hands as it will cause a hot spot that burns the bulb out faster than usual.
