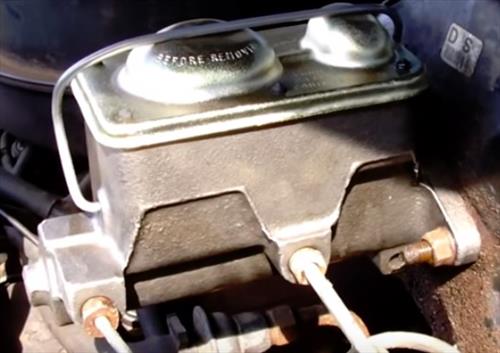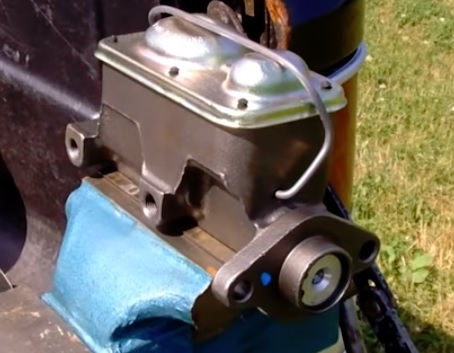
Bleeding a new brake master cylinder is necessary to remove any air that is in the unit.
It is easy enough to do for a handy DIY type person with the right tools.
Of course, if in doubt, be sure to call a professional.
It is best to bleed the cylinder before installing it since the rod usually does not go all the way in once attached to a brake pedal.
It is much easier and quicker to bench bleed it and then install the cylinder.
What is Bench Bleeding?
Bench bleeding is removing all the air from the master cylinder outside the vehicle before installing it.
Bleeding brakes removes all the air from the system, since air in the brake system will stop the brakes from working.
The main goal is to get all the air out of the master cylinder and lines, so the brakes work properly.
Once done, bleed each brake should also be bled to be sure the entire system has no air in the lines.
Items Needed To Bench Bleed a Master Cylinder
- Master Cylinder Bleeder Kit
- Correct Brake Fluid
- Vise or way to hold the cylinder
A master cylinder brake bleeder kit will be needed for the job done.
Usually, a new master cylinder will come with a small kit; if not, they are low-cost items.
The right brake fluid will be needed and is usually labeled on the cap of the old unit.
Common fluid types are DOT 3 and DOT 4.
The last thing needed is a way to hold the master cylinder, which is usually done with a vise.
How To Bench Bleed a Master Cylinder
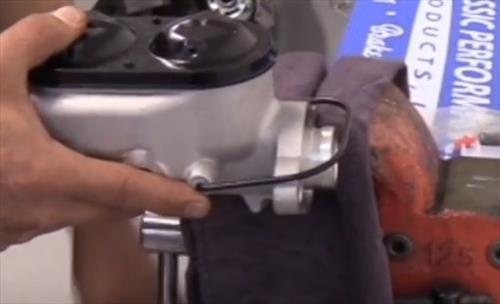
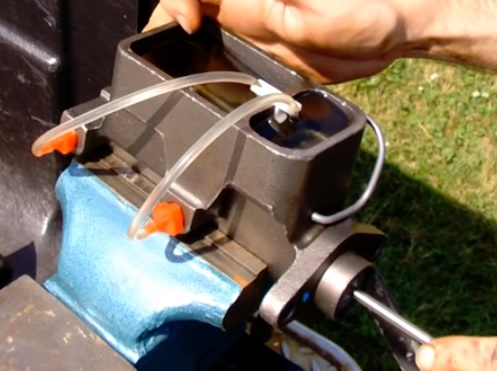
- Place the master cylinder into a vise in a level position.
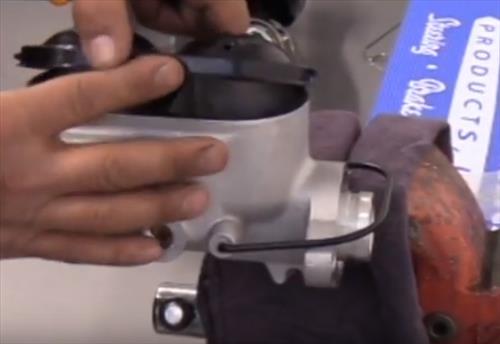
- Remove the lid.
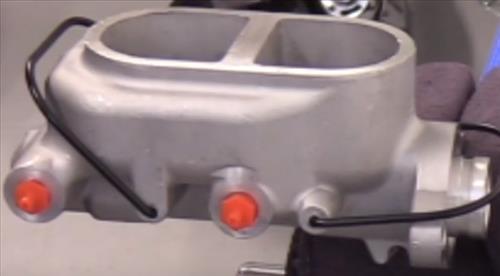
- Screw in the adapter fittings into the side ports.
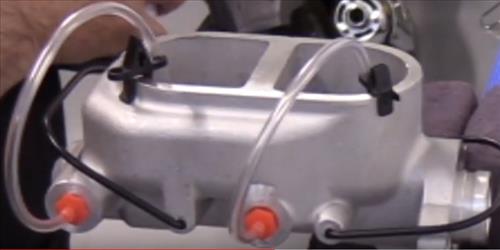
- Place the tube line on the adapters and point them into the cylinder.
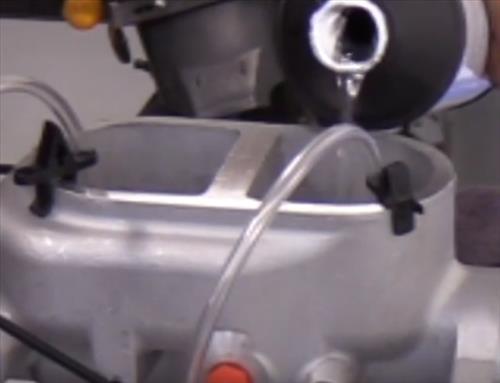
- Fill the master cylinder with fluid.
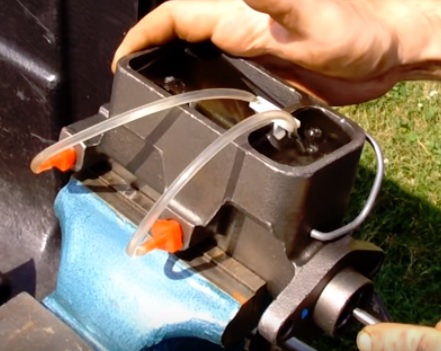
- Using a Screwdriver or similar, slowly push in on the push rod of the cylinder.
- Air bubbles will be seen in the small tubes with each push of the rod. Repeat until no air bubbles can be seen.
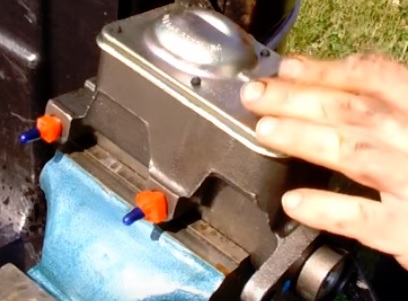
- Place the small caps on the ends of the tubes so no fluid leaks and put the lid back on.
- Install the Master cylinder and Bleed the brakes.
