Changing out a rear tail light bulb is an easy DIY task that almost anyone can do.
Some basic tools will be needed, usually a screwdriver but this changes from vehicle to vehicle.
Of course, if in doubt, be sure to take your vehicle to a professional.
Below are the basic steps for replacing a tail light bulb.
There can be differences between vehicles, so often, it is best to search for your specific car or truck since there can be small differences.
Overview of Steps to Install and Replace a Tail Light Bulb
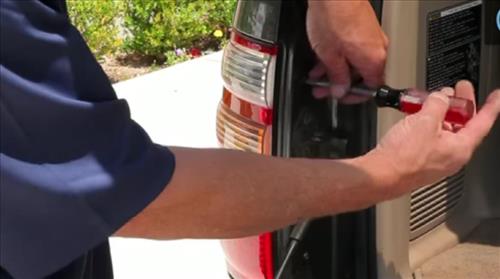
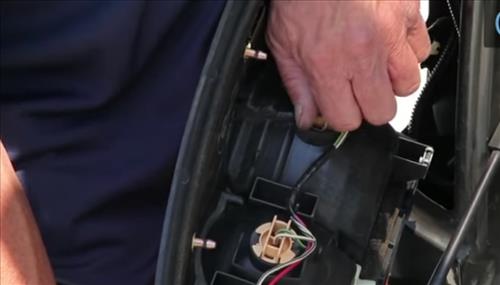
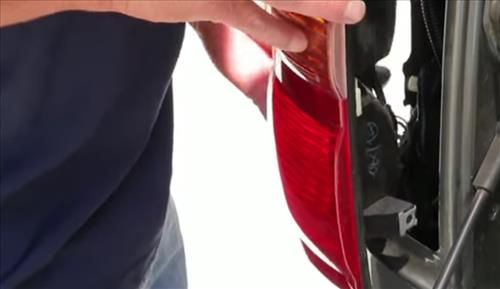
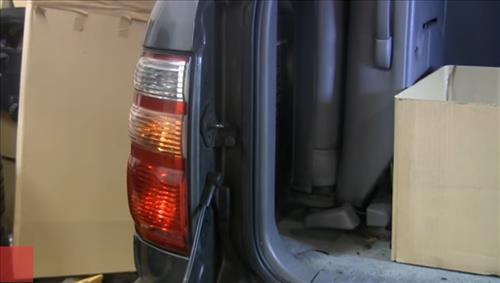
- In this example we are going to do a simple tail light bulb installation. The first thing we do is to remove the two screws and remove the tail light housing. We have two light bulbs; one is our taillight signal, and the second is the reverse light signal, but we need to replace our tail light signal bulb since it is the bad one.
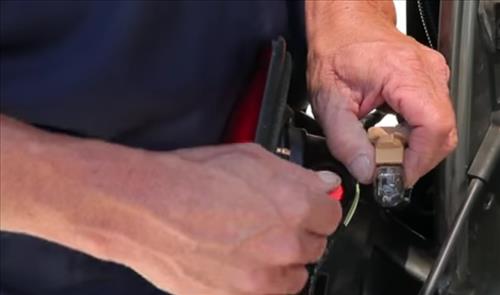
- The second step to do is to twist it about a half turn lift it up and out.
- We want to make sure and compare the old light bulb to the new bulb number and be sure it is the correct one and then remove the old bulb and install the new light bulb.
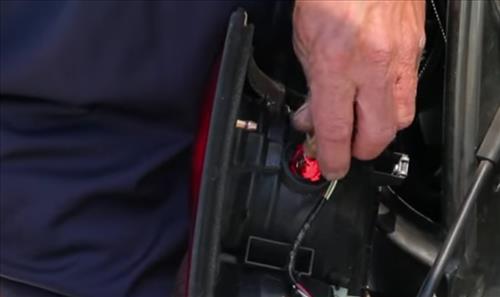
- We need to reinstall the tail light bulb and lock it down about half turn.
- Reinstall the tail light assembly and tighten the two screws using a Phillips screwdriver. That would complete the installation.
Summary
The above is an example of a simple and easy way to install a tail light bulb that can save you money.
It is also important to replace bulbs for safety hazards and to avoid getting tickets.
Every vehicle is different, and how to replace the bulb can vary.
Often they can vary by certain time period.
For example, vehicles from the 90s were all very similar, as were the 2000 and now the 2020s.
Have you had an issue replacing a tail light bulb? Let us know your thoughts below.
